
This is an Alert
Appliance repair can be dangerous. Please prioritize your safety. The information on this blog is not intended to replace the expertise of a licensed technician. We strongly recommend consulting a professional for any repairs that involve electrical components or complex disassembly. We are not responsible for any injuries or harm to appliances that may result from following the guidance on this blog.
A malfunctioning washing machine brings any household to a standstill. While calling in a professional repair technician is often the default option, many common washing machine breakdowns can be fixed independently. This guide empowers residents of Durban and KwaZulu-Natal with the knowledge and tools to perform basic appliance repairs, saving both time and money.
Benefits of DIY Washing Machine Repair
- Cost Savings: Appliance repair costs can be significant. Sourcing parts yourself and performing the repair eliminates labor expenses.
- Lifespan Extension: Proactive replacement of worn parts will significantly prolong our washing machine’s operational life.
- Valuable Skill Development: Appliance repair is a practical skill that translates to problem-solving in other areas of home maintenance.
Identifying the Need for Replacement
Before undertaking repairs, diagnose the specific issue:
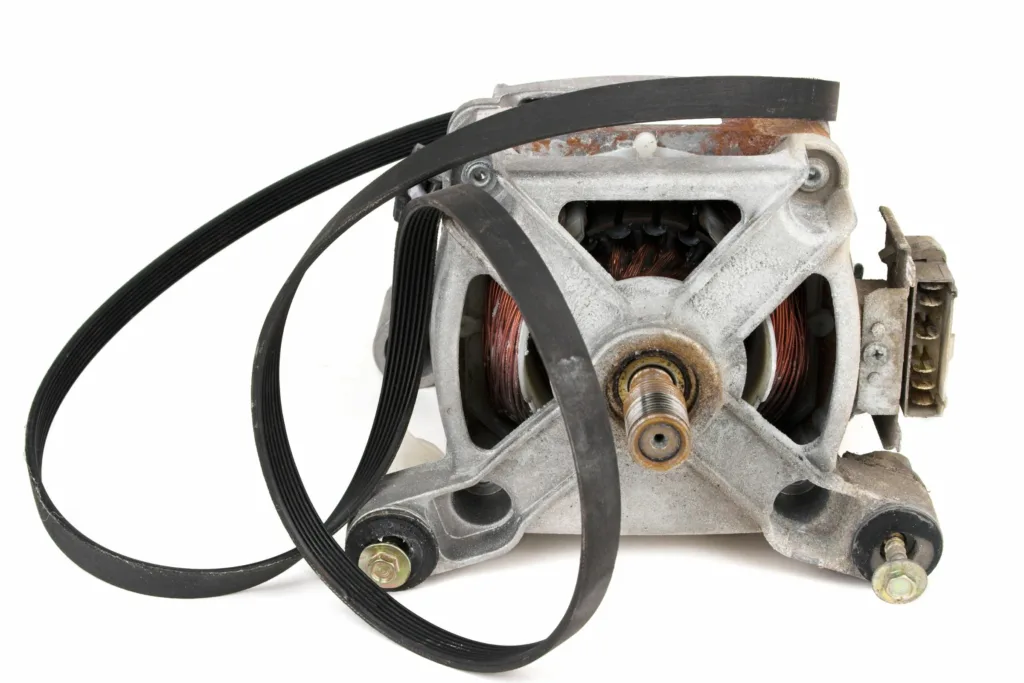
- Common Failure Points: Worn belts, damaged hoses, malfunctioning pumps, and faulty door seals are frequent culprits.
- Symptoms and Clues: Observe unusual noises, leaks, inadequate draining, or any other deviations from typical operation.
- The Owner’s Manual: Your washing machine’s manual is an invaluable resource containing troubleshooting guides and component diagrams.
Safety Considerations
- Electricity: Always unplug your washing machine before beginning work. Ensure that you are never in contact with the appliance while it is connected to a power source.
- Work Environment: Choose a well-lit and dry area, particularly important in humid Durban and KZN climates.
Essential Tools
Most washing machine repairs only require basic hand tools:
- Screwdrivers (flathead and Phillips)
- Socket set
- Pliers (needle nose and standard)
- Adjustable wrench
- Cleaning cloths
Sourcing Spare Parts in Durban and KZN
Call the smart appliance centre on 031 562 0666
Step-by-Step Replacement Guide
Since each part has unique replacement procedures, it’s best to rely on model-specific instructions. However, let’s outline the general process:
- Diagnosis: Accurately pinpoint the faulty component.
- Disassembly: Refer to your manual for instructions on accessing the required area.
- Part Removal: Carefully remove the old, worn-out part.
- New Part Installation: Fit the replacement and secure all connections.
- Reassembly and Testing: Reattach any panels and run a test wash cycle, checking for proper function and any leaks.
Prevention is Key: Maintenance Tips
- Clean Regularly: Wipe down the machine, clean the lint trap, and address any spills immediately.
- Follow Loading Guidelines: Avoid overloading your machine.
- Use As Directed: Employ the correct types and recommended amounts of detergent.