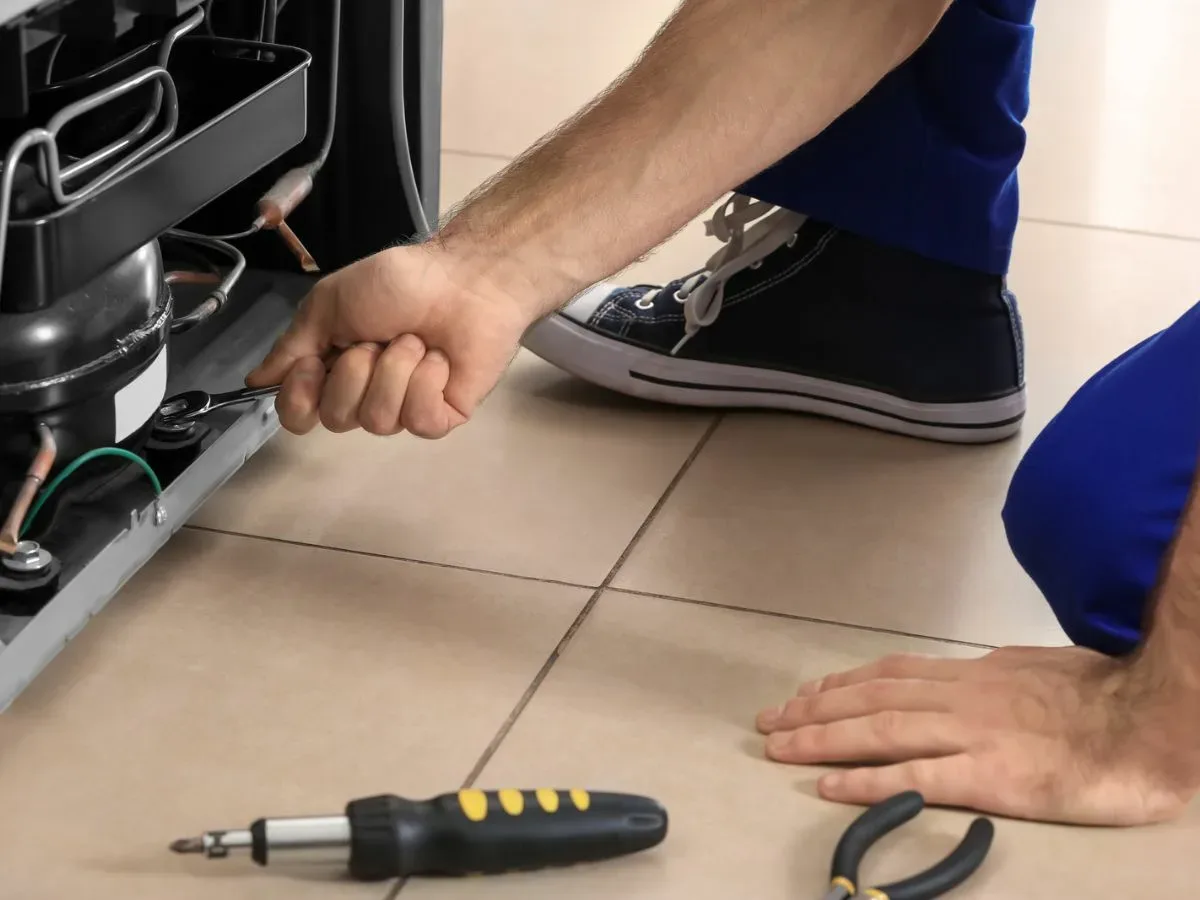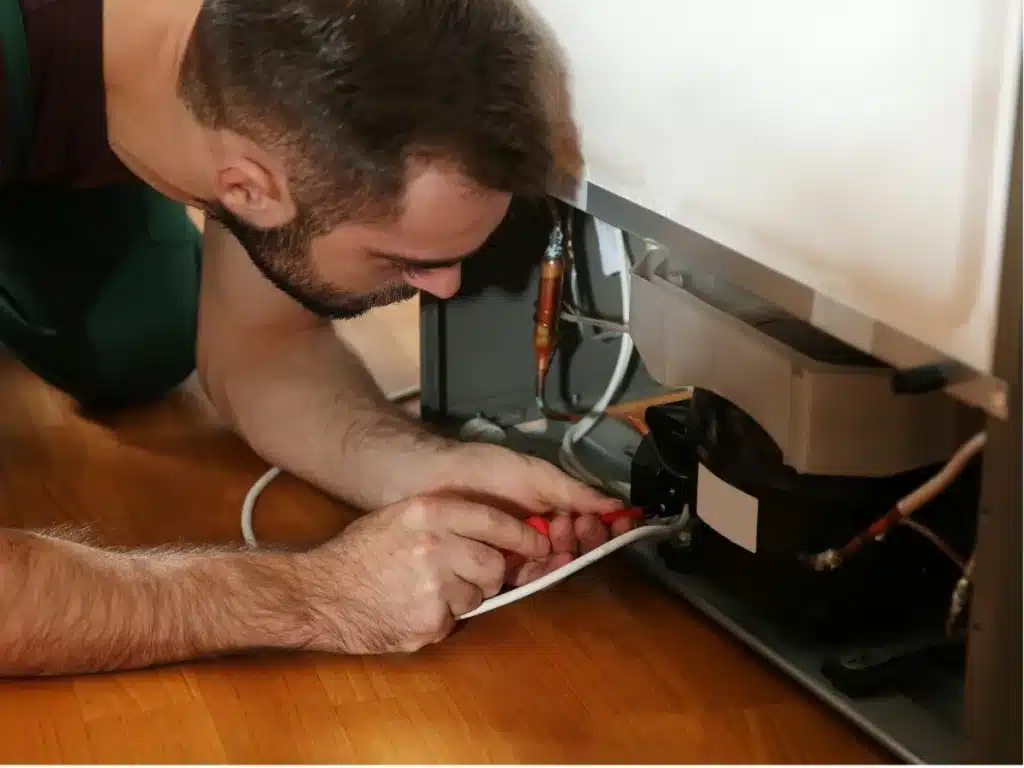
Do you reside in Durban and face a frustrating situation – your Whirlpool freezer isn’t freezing food effectively, yet the fridge section functions perfectly? Don’t fret. This guide delves into the potential culprits behind this malfunction and offers solutions to get your freezer back in top shape.
Why Choose Our Reliable Repair Team
- Whirlpool Expertise: Our technicians specialize in Whirlpool appliances. They undergo continuous training on the latest models and repair techniques, ensuring your freezer gets the expert care it deserves.
- Transparent Pricing: We provide upfront written estimates before starting any work. You’ll know exactly what to expect, with no hidden surprises.
- Respecting Your Warranty: We are an authorized Whirlpool service provider. This means we follow manufacturer guidelines for repairs, protecting your warranty and giving you peace of mind.
Additional Benefits of Choosing Our Team
- Fast Response: We understand the urgency of a freezer malfunction. Our team prioritizes prompt scheduling and strives for same-day or next-day service when possible.
- Quality Parts: We use genuine Whirlpool parts for reliable repairs, ensuring your freezer performs at its best.
- Customer Focus: Our mission is to provide exceptional service that exceeds expectations. We’ll work diligently to get your freezer running smoothly, minimizing disruptions to your life.
Preventive Maintenance: Keeping Your Freezer Running Smoothly
Regular upkeep is essential to minimize future breakdowns and prolong the life of your Whirlpool freezer. Here’s a maintenance checklist:
- Cleaning Condenser Coils: Located either behind or below your freezer, these coils dissipate heat. Cleaning them twice a year with a vacuum or specialized brush can significantly improve your freezer’s efficiency. Unplug the power before cleaning.
- Monitoring Door Seal: Regularly inspect the door seal for any signs of wear and replace it when necessary.
- Occasional Defrosting: Even with a functioning defrost system, manual defrosting every few months (or as recommended by your freezer manual) can prevent excessive frost buildup.
- Leveling the Freezer: A slightly forward-tilting position aids in proper door closure and can improve drainage during defrost cycles.
Understanding the Problem: Why Your Whirlpool Freezer Isn't Freezing
- Thermostat Mishap: The thermostat regulates temperature within the freezer. If it’s set too high, the freezer won’t achieve the necessary coldness for proper freezing.
- Airflow Obstruction: Blocked vents hinder cold air circulation, leading to uneven cooling or a complete lack thereof. Check for items obstructing the vents inside your freezer.
- Defrost System Dysfunction: Frost buildup on evaporator coils is a natural process. However, a malfunctioning defrost system causes excessive frost accumulation, reducing the freezer’s efficiency.
- Compressor Failure: The compressor, the heart of the cooling system, circulates refrigerant. A defective compressor can’t maintain the low temperatures required for freezing.
- Other Potential Causes: Less frequent causes include faulty evaporator fan motors (which circulate air), refrigerant leaks, or electrical issues with the control board.
Taking Action: A Step-by-Step Troubleshooting Guide
Before diving deeper, ensure these fundamental aspects are functioning correctly:
- Verify Power: Double-check that the freezer is securely plugged into a working electrical outlet. If necessary, test the outlet with another appliance.
- Temperature Confirmation: Use a reliable thermometer to measure the internal temperature of the freezer. Aim for a range between 0 and 5 degrees Fahrenheit (-18 to -15 degrees Celsius). Adjust the thermostat accordingly if needed.
- Avoid Special Modes: Ensure the freezer isn’t currently in a defrost cycle or another mode that might temporarily prevent freezing. Consult your Whirlpool freezer manual for specific details regarding your model’s functionalities.
Examining the Door Seal for Leaks
Here’s how to inspect the seal:
- Visual Inspection: Carefully examine the entire door seal for any cracks, tears, warping, or gaps. Even minor imperfections can disrupt the seal.
- Cleaning and Maintenance: Over time, grime buildup can affect the seal’s ability to create a tight closure. Clean the seal with warm, soapy water and a soft cloth. Dry it thoroughly before closing the door. Consider applying a light coating of food-grade silicone lubricant to enhance the seal’s effectiveness.

