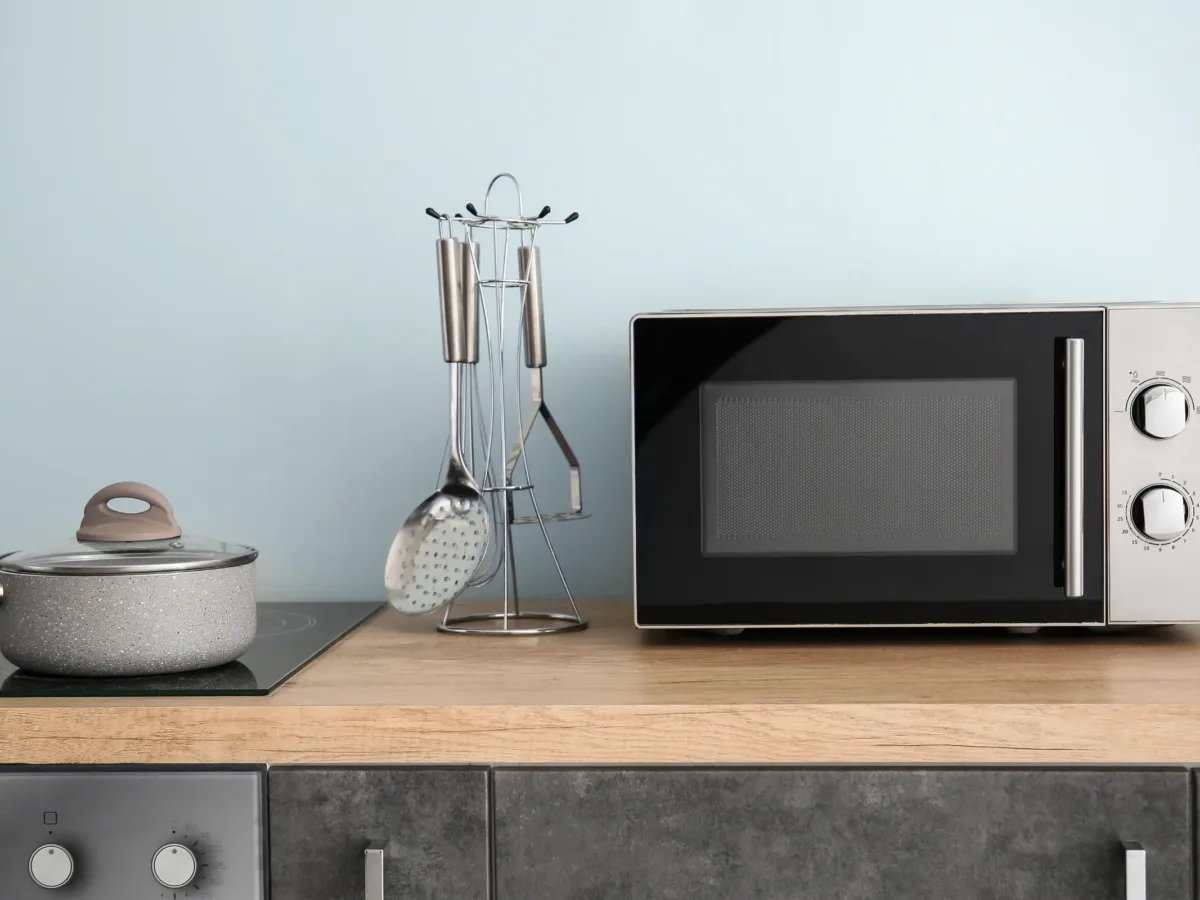
While maintaining a spotless kitchen might be a top priority, the small appliances that make your life easier often go overlooked in the cleaning process. However, hidden food residues and grime within these workhorses can have serious consequences for your kitchen’s hygiene and your appliance’s longevity. This guide provides professional-grade tips for cleaning and maintaining the small appliances that are essential to your culinary endeavors.
Why Prioritize Cleaning Small Appliances
Food Safety and Hygiene: Neglected appliances become breeding grounds for bacteria and mold, jeopardizing food safety. Regular cleaning maintains a sanitary environment for your meals.
Extended Appliance Lifespan: Accumulated grease, crumbs, and other debris can clog mechanisms and strain motors, leading to premature failure. Investing a little time in cleaning equates to significant cost savings down the line.
Optimal Performance: Clogged filters, food residues, and mineral buildup impede the effectiveness of your appliances. Maintain their efficiency and enjoy consistently delicious results with regular cleaning.
Essential Cleaning Supplies
Stock your cleaning arsenal with these staples:
- Distilled White Vinegar: This natural disinfectant breaks down grease and grime.
- Baking Soda: A gentle yet effective abrasive for stubborn stains or caked-on food.
- Microfiber Cloths: Prevent scratches while absorbing spills and cleaning messes.
- Soft-Bristled Toothbrush: Reach into tight spaces and around intricate parts.
Step-by-Step Professional Cleaning Protocol
Safety First: Unplug It! Always unplug any appliance before starting your cleaning routine.
Disassemble for Deep Cleaning: Remove all detachable parts like crumb trays, filters, blades, or carafes for thorough individual attention.
Vinegar Solution: Your Secret Weapon: Combine equal parts distilled white vinegar and warm water in a spray bottle or bowl.
Tackle Tough Stains with Baking Soda: For stubborn areas, create a paste of baking soda and water. Apply and gently scrub, then wipe clean.
Detailing with a Toothbrush: Reach into crevices and around intricate components with a soft-bristled toothbrush dipped in your vinegar solution.
Meticulous Drying: Dry each individual component thoroughly with a clean microfiber cloth before reassembly.
Appliance-Specific Cleaning Techniques
Coffee Maker: Follow the manufacturer’s instructions for a descaling cycle using a vinegar solution. Flush with clean water afterward.
Microwave: Microwave a bowl of water with lemon slices for several minutes to loosen splatters. Wipe down with a vinegar solution.
Toaster: Remove and empty the crumb tray. Use a slightly dampened microfiber cloth to carefully wipe down the interior, avoiding heating elements.
Blender: Blend a solution of warm water and dish soap to clean the interior. For deep cleaning, disassemble and clean parts individually.
